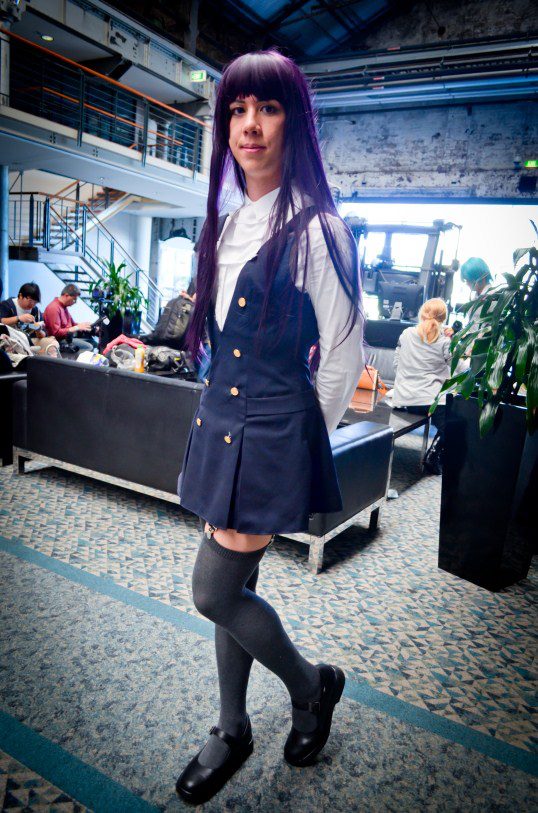
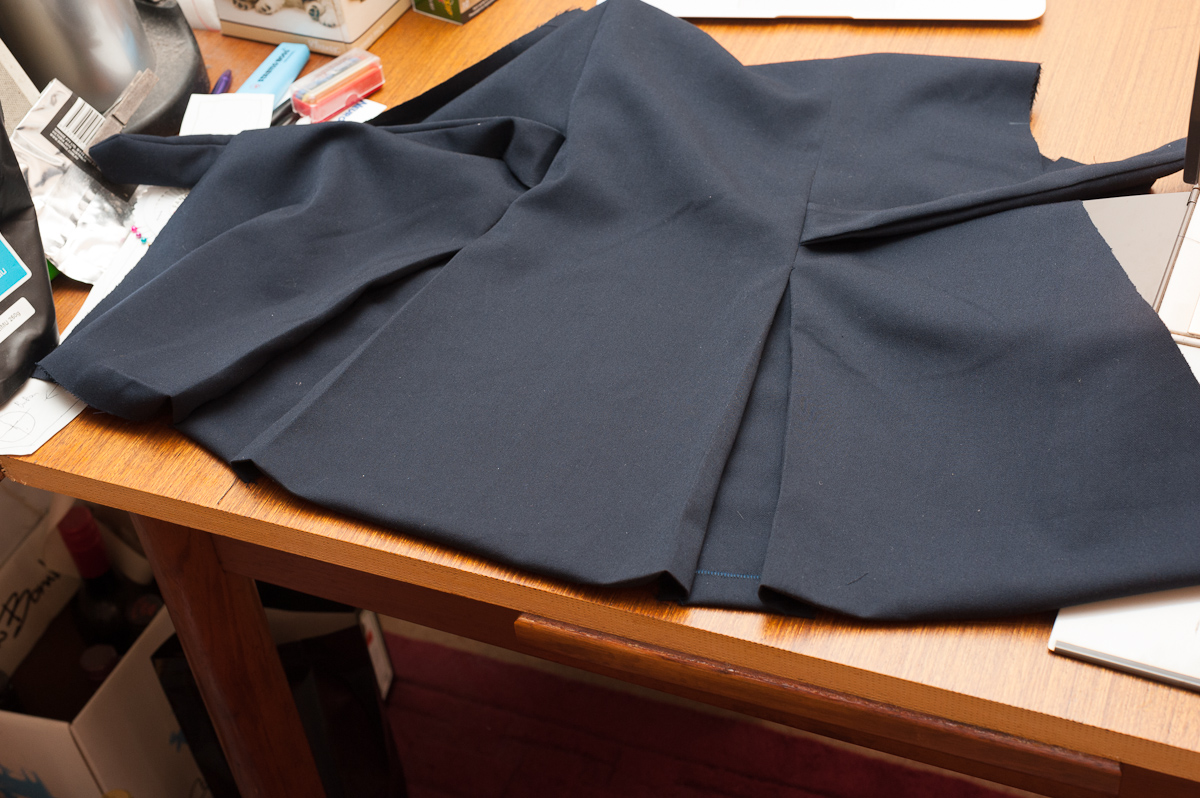
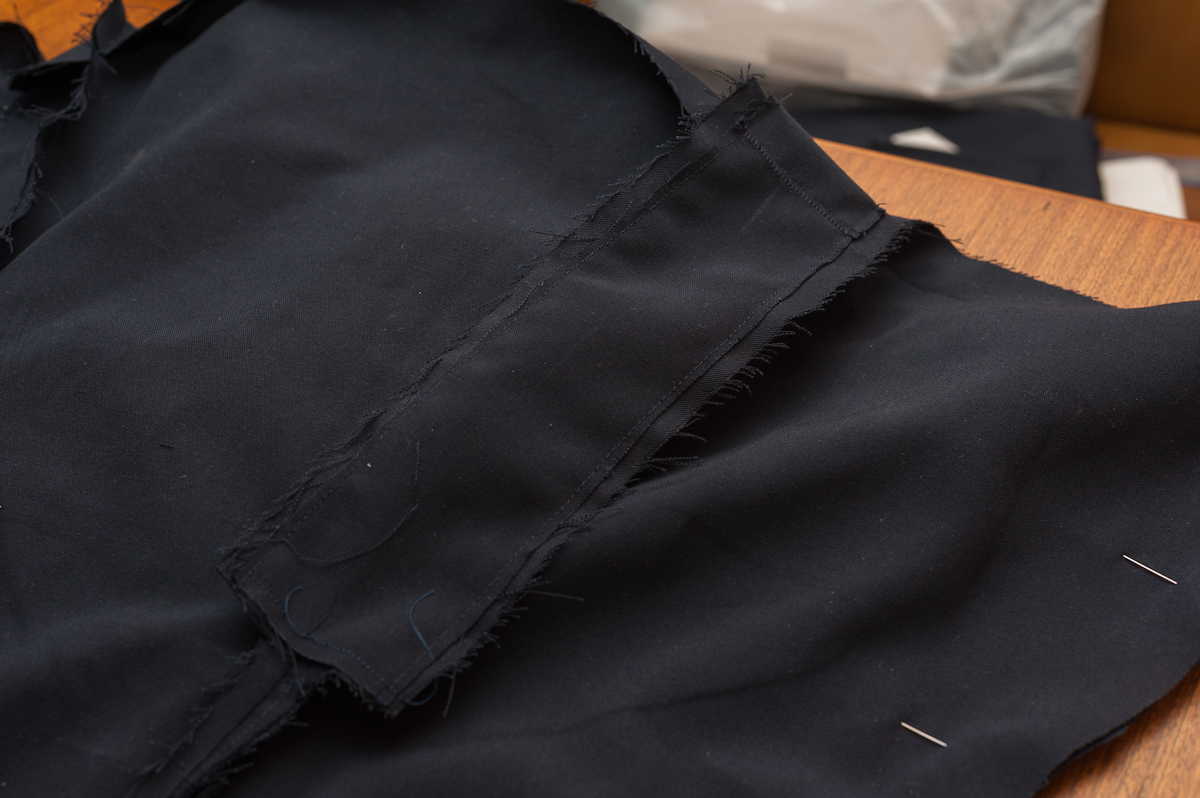
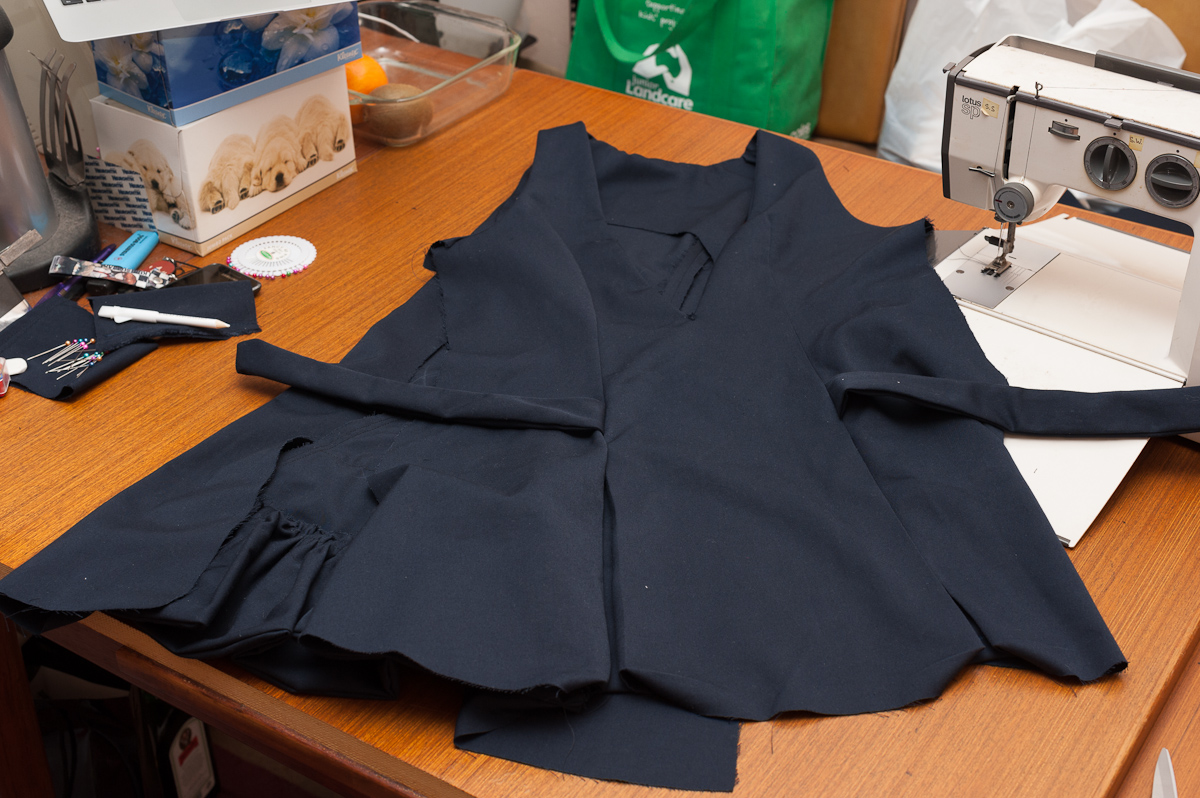
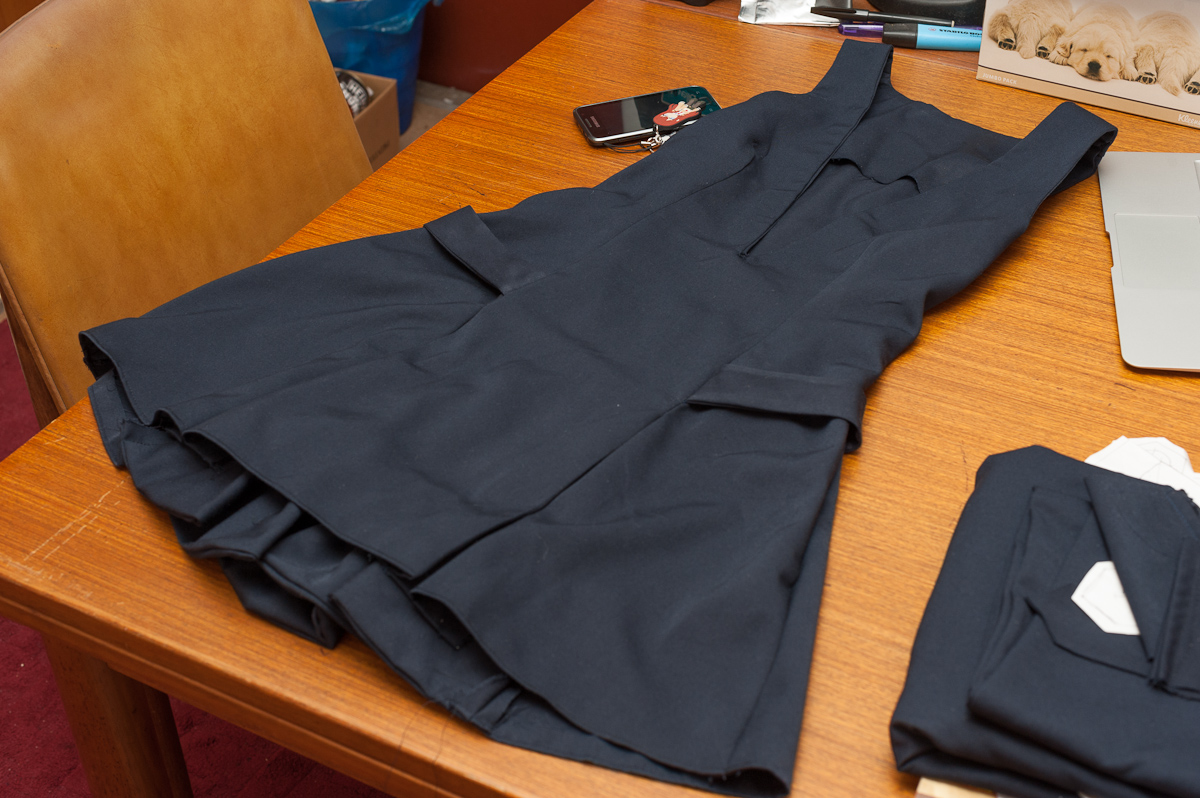
The pattern was included in the May 2012 edition of Cosmode, along with some makeup guides for four major characters. The pattern is too hard to reproduce here, but the instructions are easy enough.
You can see the rest of my notes for the costume on the parent page.
Contents
Instruction pages
English annotations have been marked in red for convenience.
Notes
This is incomplete. A rough translation of all the stuff before the procedure.
This is a Bustle Jumper Skirt (JSK).
Sizing
- Nominally a Medium size. Hopefully you happen to match the dimensions suggested, as there's no notes about resizing it that I can see.
- 90cm Bust
- 75cm Waist
- 29cm Shoulder width
75cm finished length (from shoulder to hem?)
Materials
Polyester gabardine (148cm width) |
1.4m |
Interfacing? Fusible? (90cm width) |
0.6m |
Hemming tape (12mm width) (bias tape? fusible bias tape?) |
2m |
Invisible dress zipper (56cm long? seems too long) |
1x |
Gold buttons (24mm diameter) |
10x |
Cutting directions
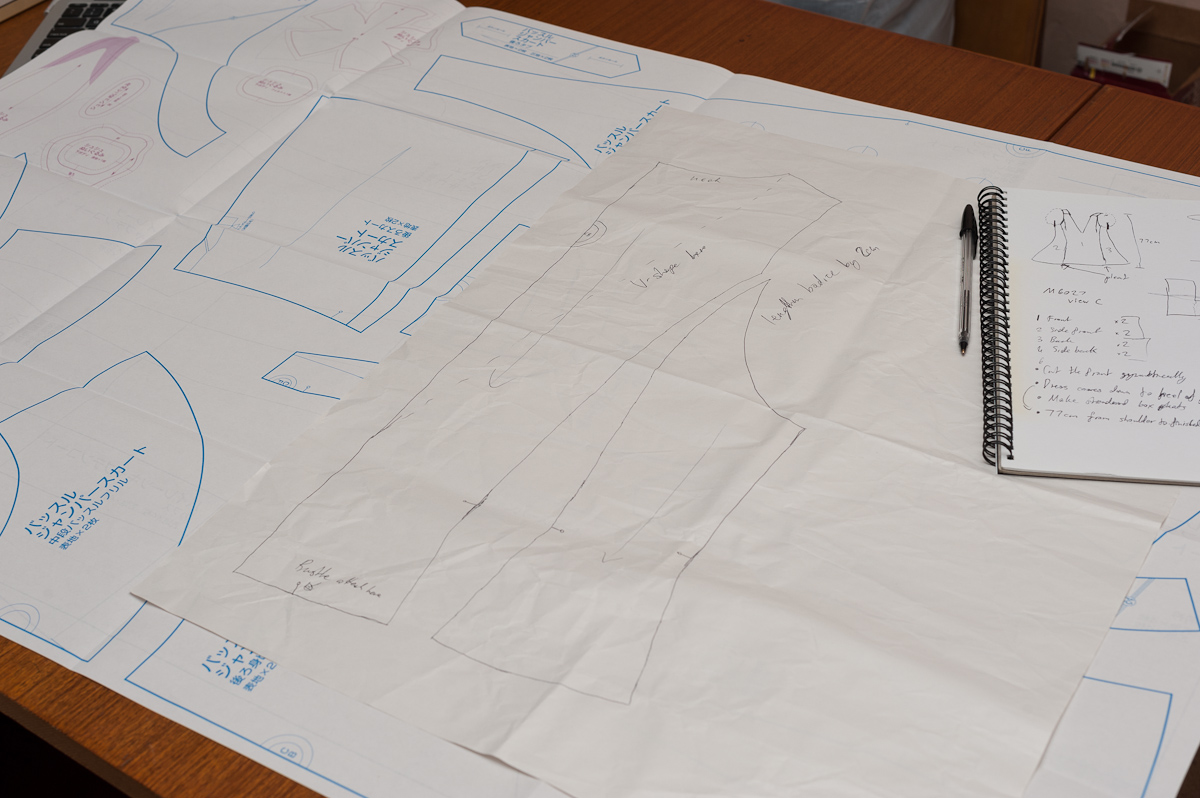
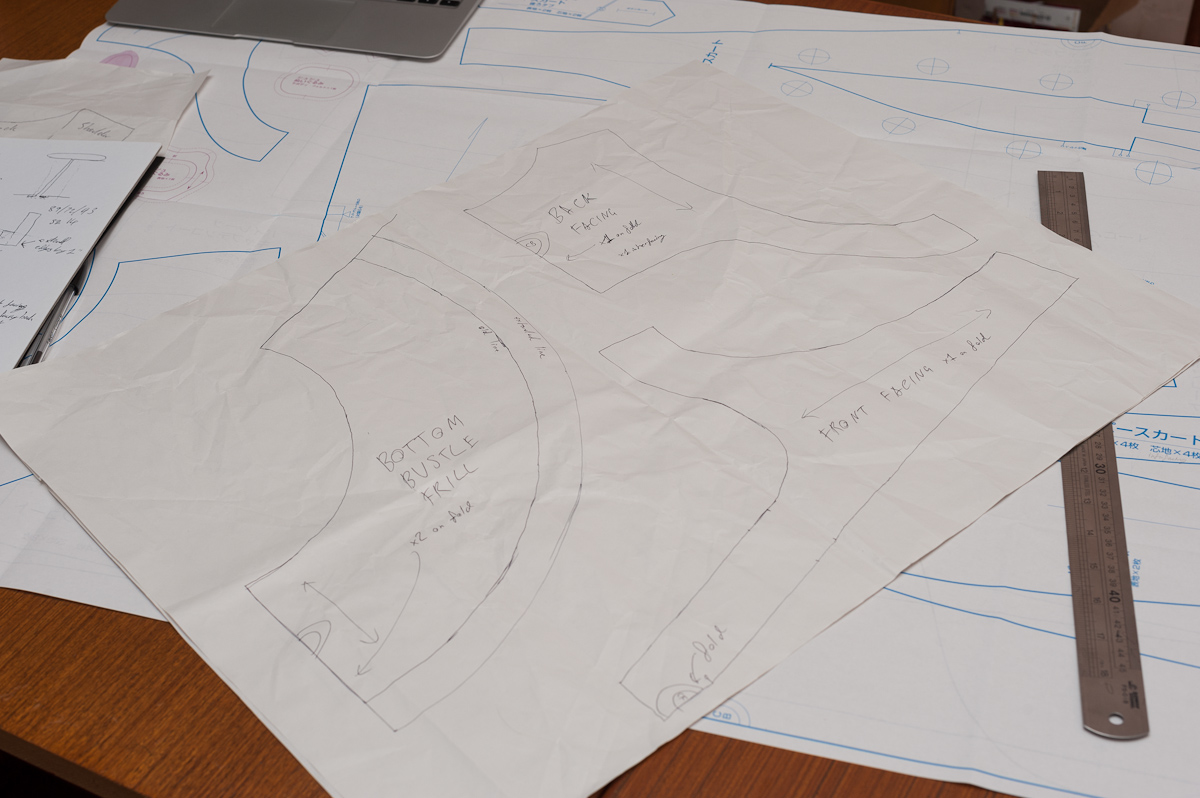
Because the pattern isn't mine, I traced the pattern onto spare butcher paper. This conveniently made it easy to make some adjustments - see the next section.
This is not confirmed to be accurate. There are three guide notes as follows on page 1:
Something about seam allowances. Seam allowances are not marked. Leave 2cm allowance for the skirt hem, and 1cm elsewhere.
- Something about applying hemming tape. I think this is the orange edges in the diagram on the bottom-left of the page.
- I think this says to overlock all the edges indicated. Which is a lot of them, they're marked with zigzag edges.
Observe the cutting diagram carefully, it demonstrates the seam allowances. The sew-edges are thick lines, the cut-lines are thin.
Some edges don't need a seam allowance, these are shown (the bottom edges of the back and front facing). Skirt hems need 2cm seam allowances, and the gap is visibly bigger in the diagram.
Make sure all the pieces match the markings grain direction on the pattern.
Note that the material is folded to have two edges when cutting-out, each fold marked with a (ワ) symbol. Most pieces are cut on the fold because they're symmetric. You'll need to cut two of each of the frill and belt pieces.
Adjustments
I'm a tall girl, so I suspected that the pattern as-provided would be too short. Measuring the desired length from shoulder to hem, I estimated that I should add several centimetres to the length, to get a skirt that's just-a-little-bit-short, and (naively) trusted that the width/girth would be okay.
- I added about 2.5cm to the bodice, where the lines start converging in the "arrowhead" of the front piece, a bit above the belts. This also had to be added to the Back and Back Side pieces, about halfway up the outer side of the Back Side pieces, roughly corresponding to the small of the back.
- I added about 5cm to the skirt. This meant extending the hem on the Front, Skirt pieces, Bustle Backing and Pleat Interior
- I extended the bustle frills by about 2.5cm each. I don't know exactly how this worked out, because the bottom frill would've been too short (should've extended by 5cm instead of 2.5) or too long (shouldn't have extended at all, when I extended it 2.5cm). I'm thinking the skirt sides were extended by 5cm, the bustle backing was extended by 5cm, so the bottom frill shouldn't have changed length.
Once I was finished, I determined that I probably needed a little extra circumference on the bodice. It was too late to fix this, but thankfully the V-shaped cutout in the back gave me enough room to move. I would definitely make the bodice piece wider next time.
This was really lucky guesswork, and it turned out okay for me. You should probably extend the skirt a bit if you're worried you'll bend over. I just find it easy to avoid bending over. *shrug*
Cut out interfacing
This is unconfirmed. It looks like you're meant to cut out extra pieces of interfacing, but I don't know when you fix them to the real material.
- V-shaped front
- Back yoke (bit that sits on the shoulders)
- Belt (2 pieces, one for each side)
- Rear tab/belt
- Pleat interior (2 pieces, one for each side)
Preparation
- Apply hemming tape along orange edges as shown
- Overlock edges marked with zigzags
- The inset says something about overlocking a dart near the top of the triangle cutout. I have no idea what they're saying
Sewing guide
All good? Okay, all your material should now be cut and treated however it needs to be.
We'll try and follow each step as numbered.
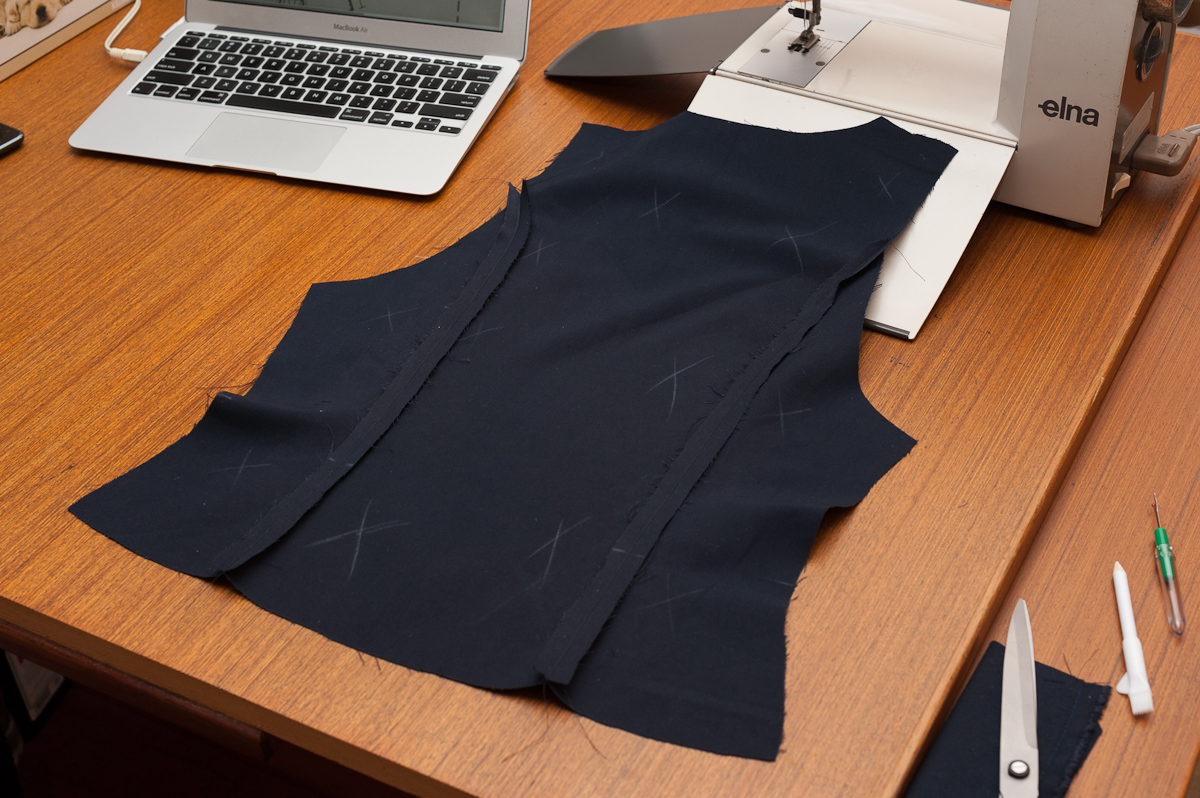
- Sew and attach the belt for each side
- Place right sides together and sew, leaving one end of the tube open. Clip corners.
- Turn tube right way out. Press flat with iron.
- Place tube on wrong side of front piece, sew against outer edge of hole as shown.
- Flip tube around to be on outside of the hole.
- Sew the pleats and princess seam (this may not technically be a princess seam)
- Ensuring belt is on "outside", fold along seam+pleat line as shown with right sides together.
- Sew from the top of the pleat up to the dart, then baste-stitch down the length of the pleat.
- Taper the stitches off the material at the dart to avoid leaving a lump.
- Poke the dart open so it lies flat, press with iron.
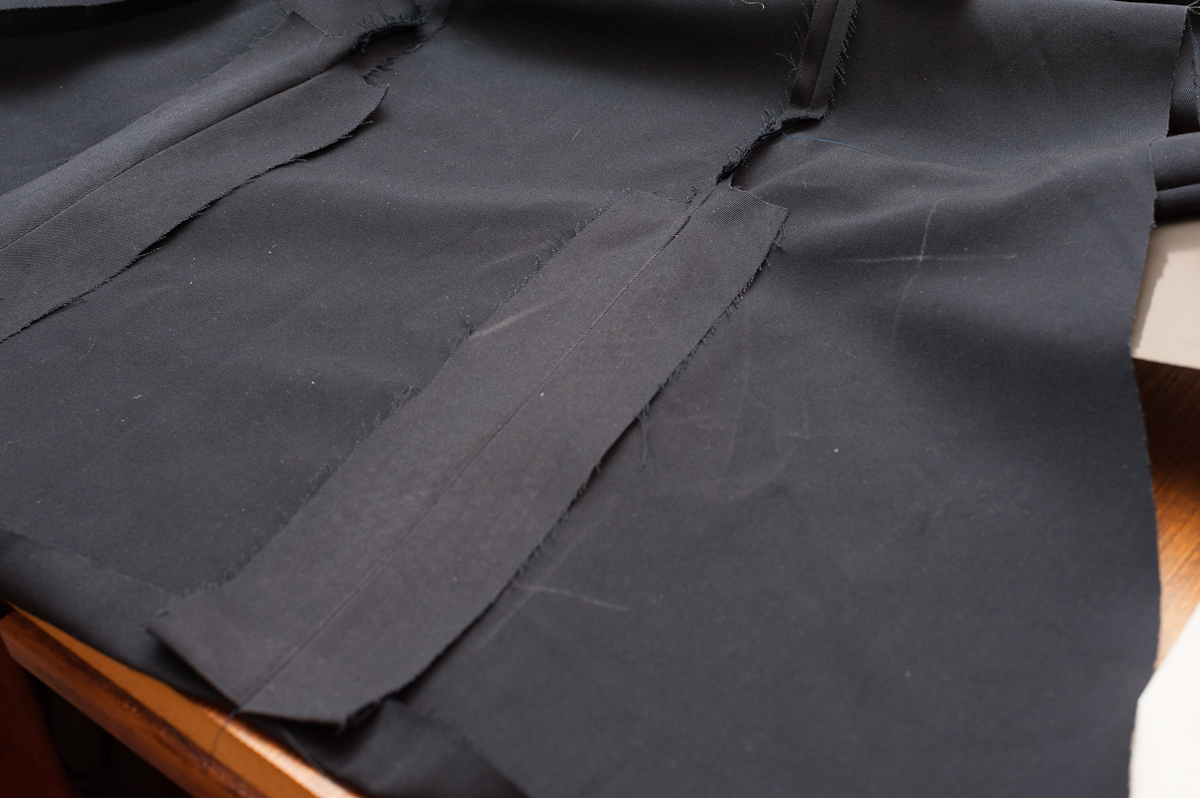
- Turn up the hem to the appropriate height (should be the 2cm allowance that you cut).
- Press the hem up with iron.
- Tack some stitches at the top of the pleat as a stopper, then cut the pleat open. The pleat should now be neat and stay in place mostly on its own.
- Pre-hem the pleat interior, then fix it in place on the skirt
- As shown in the inset, you can't do this in one continuous U-shaped line of stitching; you'll need to sew two L-shape lines, starting at the hem and petering out when you reach the seam.
- Get as close as you can without crossing the seam. It's not super-critical because it won't be visible from the outside.
- I have no idea what this step is about. It says something about using an iron, probably just to press everything down into the right places.
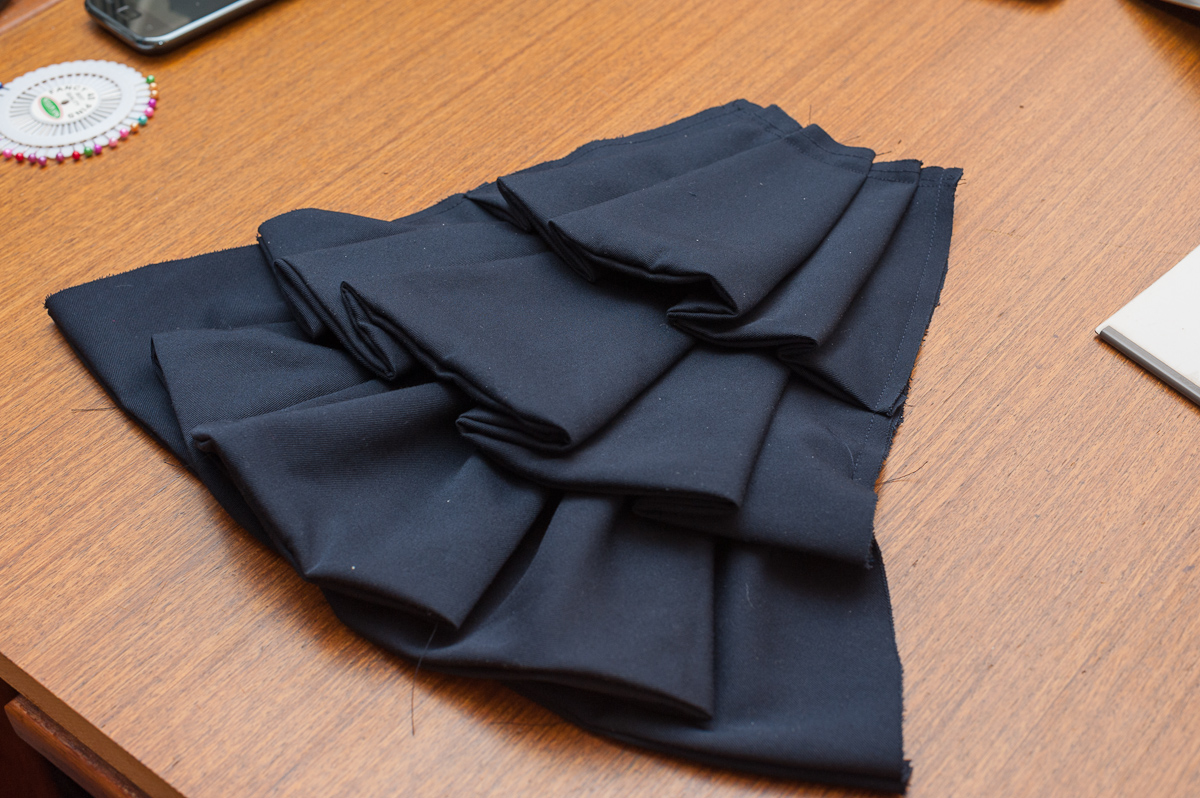
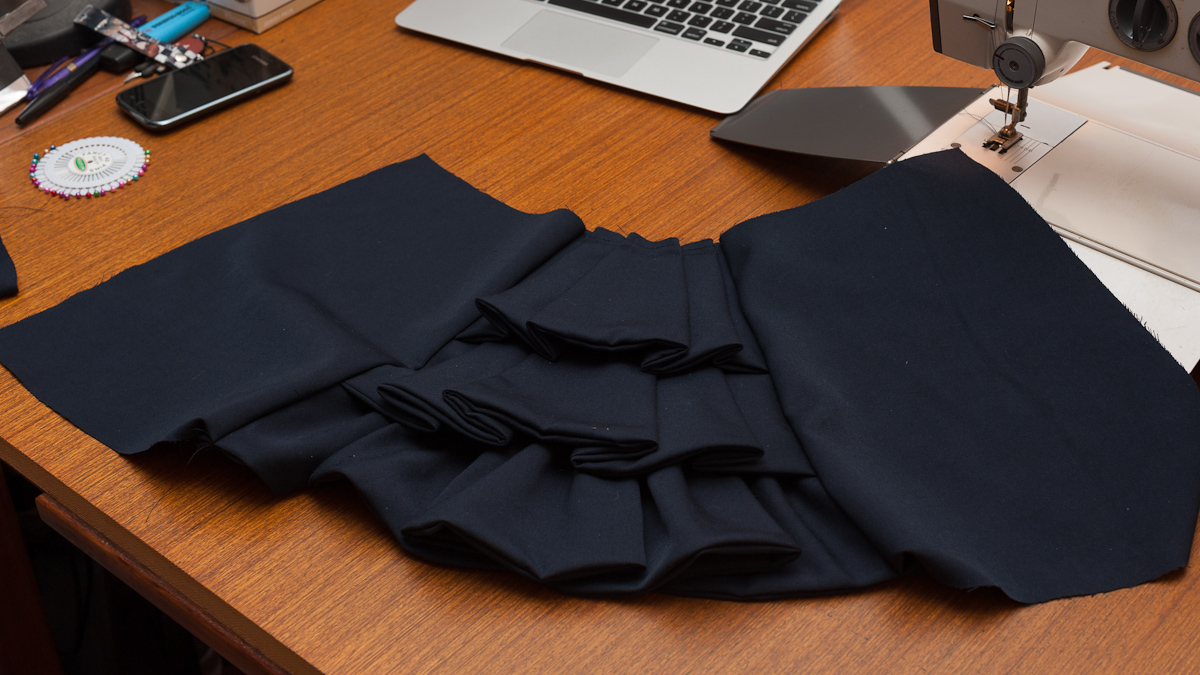
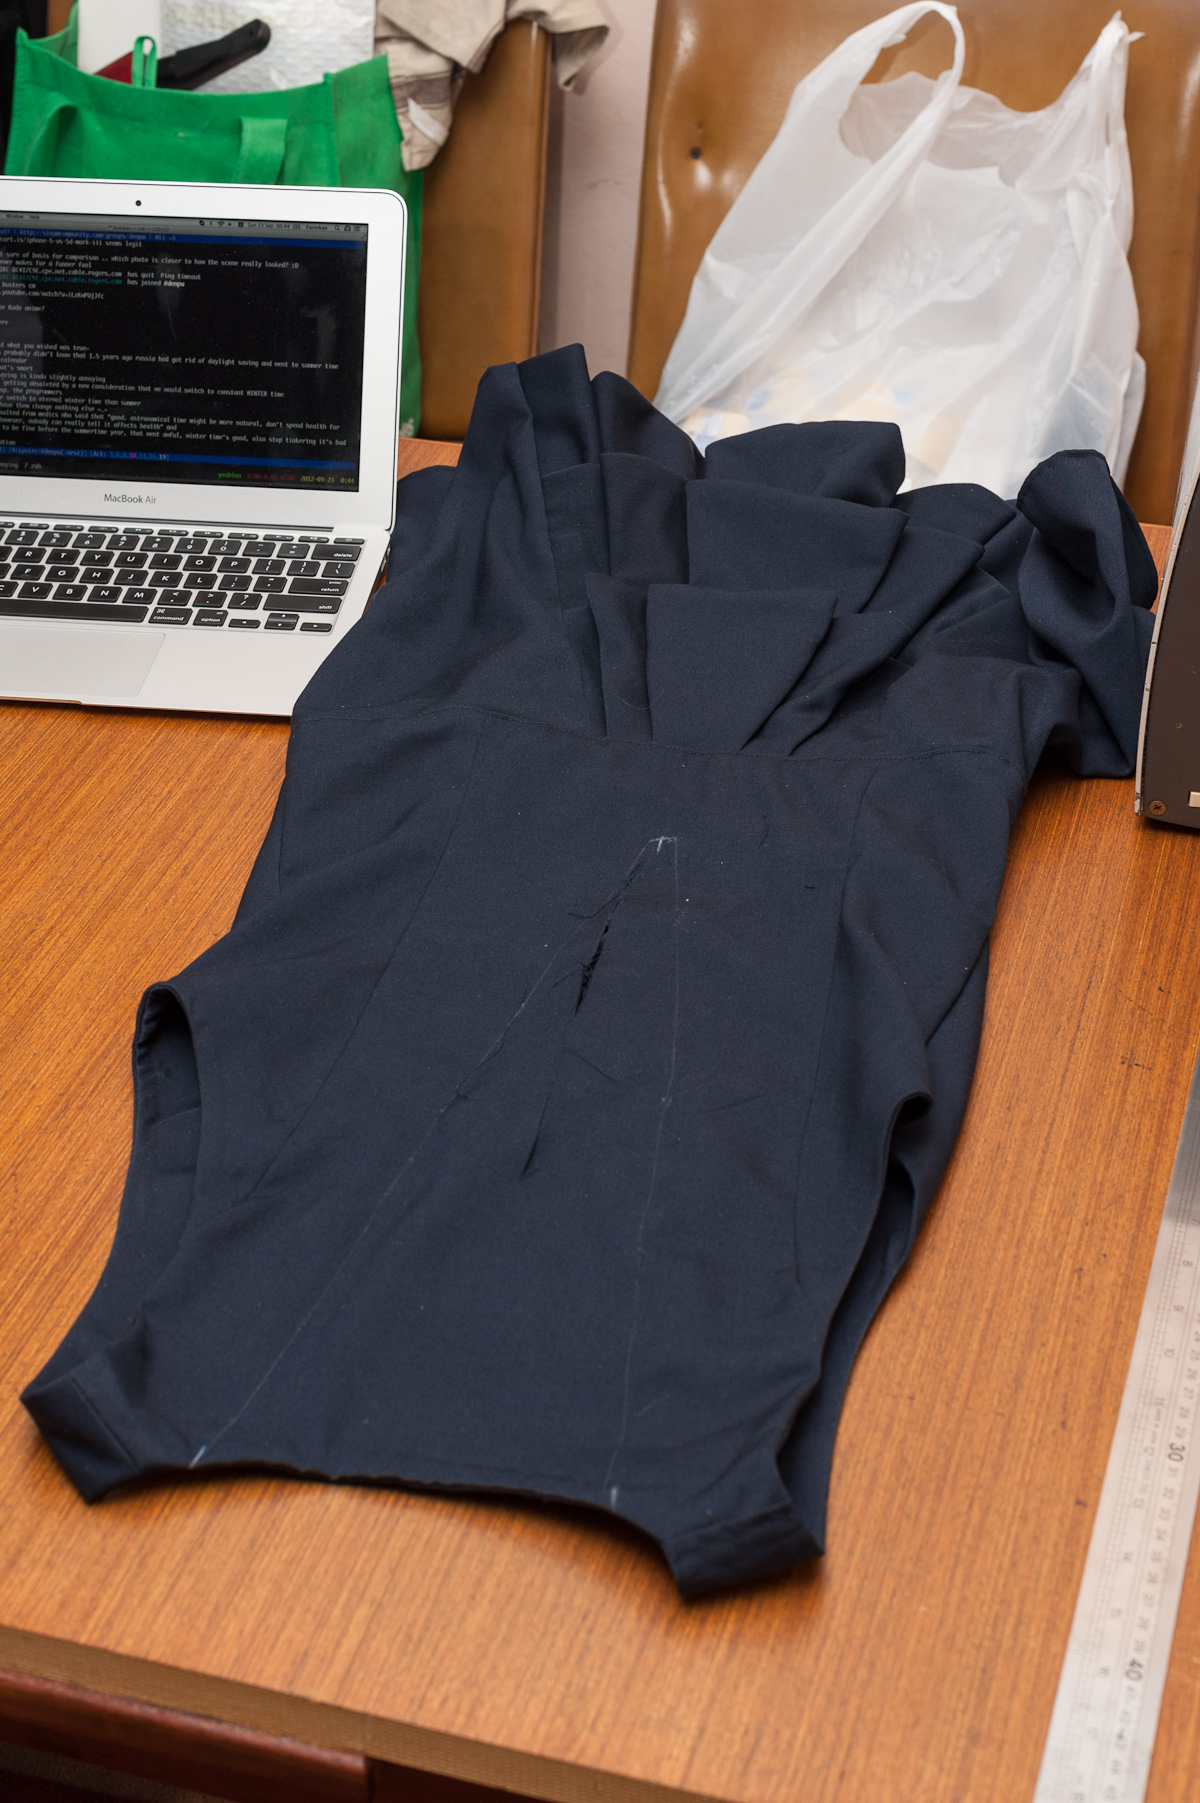
- Sew the bustle, it's three frill-pieces attached to a backing layer
- The frills are Top, Middle, Bottom, getting progressively wider in that order.
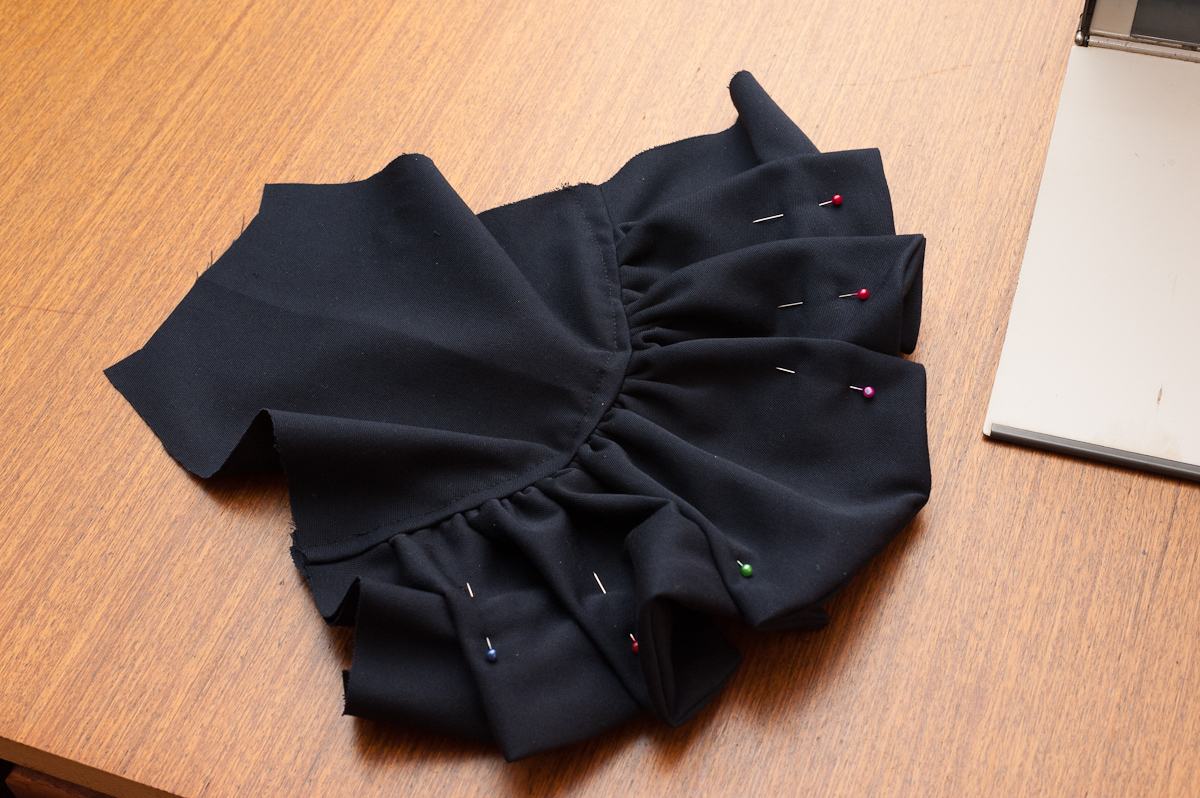
- Each frill comprises two arcs of material. For each frill, place the pieces right-sides together and sew the outer (longer) seam, then turn them the right way out.
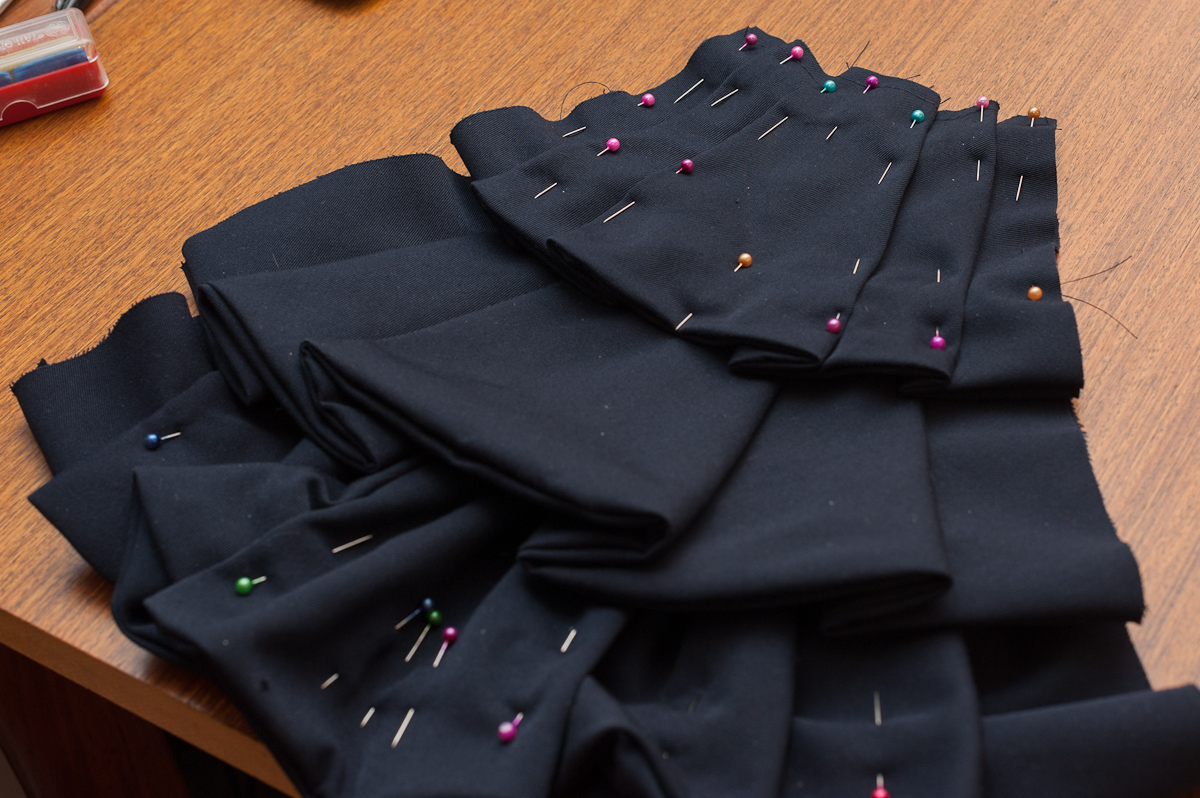
- Loosely baste along the inner seam, leaving plenty of spare thread on each end. Pull the threads on each end to help gather the material and create the frills as shown. You may find it helpful to use pins to keep the frills where you want them.
- Attach the bottom frill to the backing layer by putting right sides together (the designated "outside" for your frill) and sewing. Flop the frill down, the seam should be hidden on the rear face.
- Once you've created nice gathering on the top and middle frills, baste along the inner seam of each frill to hold them in place. Then sew them straight onto the backing piece; you can sew from the top side because the stitches will be hidden.
- I found that now was a good time to make some hidden stitches to help keep the frills pretty. Tack small vertical lines on the hidden folds of the pleats. You won't be able to do more than several centimetres (approaching the horizontal seam for each frill), but that's plenty. Tidy all the threads to they won't fall out and show on the frills.
- Stitch down the left and right edges of the backing to hold the frills down against the backing. You can sew from the top side because the stitches will be hidden when you attach the bustle to the sides of the skirt.
- Attach the bustle to the skirt pieces
- With right sides together (ignore the annotations in red) stitch down each side, folding up the hem to match the length of the bottom frill and catching it in the seam.
- Further hide the seam by rolling the edges of the backing into the skirt sides (up to the "corners" along the top edge of the backing) and tack in place on each side, as shown by the short red horizontal lines in the diagram. NB: this can be deferred until the end of the next step, when you attach the skirt to the Back piece.
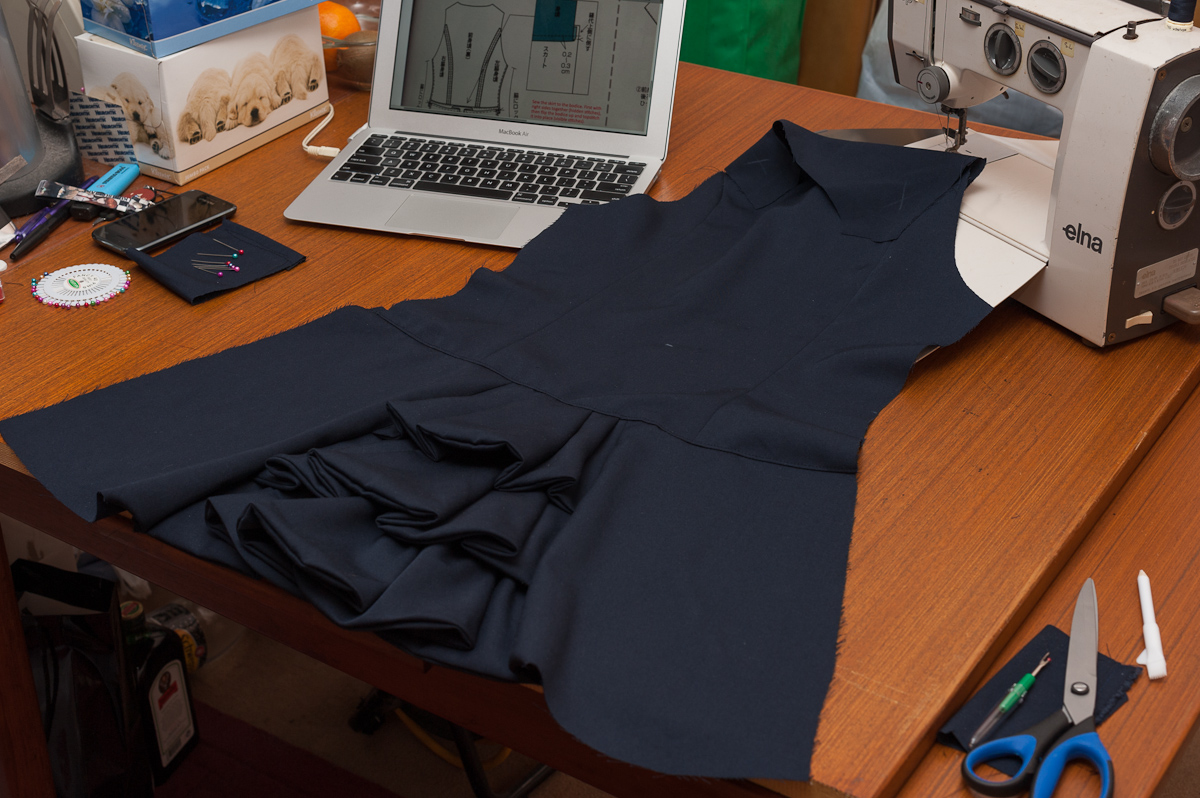
- Sew the back together and attach the skirt
- Sew the Back Sides to the Back. Now is the time to adjust the width of the skirt to match the back, as mentioned in the previous step.
- With right sides together, sew the skirt to the back. Flop the skirt down and fold the seam so it points upwards. Topstitch 2-3mm above the seam to keep it in place.
- The diagram suggests something about overlocking all down the finished sides.
- Join the back and front pieces, and prepare the back facing and front facing
- Sew as shown in the diagram.
- Wrong sides are facing up, the blue parts of the right side of the material.
- Done correctly, the facing will fit against the front+back with wrong sides touching, with one shoulder open and the other shouldn't closed.
- Attach the facing to the front and back
- With right sides together, align the facing (open and closed shoulders accordingly) and sew along the lines as marked.
- Stop 3cm from the end of each seam, as shown.
- Clip the V-shape in the front facing as close as possible to the seam, as shown in the inset. This is a little difficult because the whole thing will be turned inside-out shortly.
- Turn the whole thing inside-out (now the right-way-out)
- Clean up the remaining shoulder and sew it together
- With right sides together, sew the front and back together at the shoulder.
- Neatly fold in the seam allowance of the facing around the shoulder and sew it to the now-joined front and back.
- Neatly sew along the length of the shoulder, as showed in note (4). This stitching will be visible on the outside of the shoulder, but should be fairly subtle and not obvious.
Try and get the shoulders as even as you can. If one side is longer it will end up falling off all the bloody time.
- Close the sides attaching the front to the back
- Go ahead and stitch the seam down the right side, making sure to turn up the hem before you stitch.
- The invisible zipper is fitted to the left side, I hope you know how to sew one of these (they're kinda annoying). Follow the instructions on the packet and you should be fine, you'll probably want a special zipper foot for your sewing machine.
- Finish sewing down the left side, turning up the hem as you go.
- Stitch the ends of the front facing and back facing together as shown, with right sides together. They'll later to fixed to the bodice and turned-over to the inside.
- Clean up the facing at the top of the side seams
- With the dress still inside-out and working on the right side seam, sew the facing in place around the bottom of the armscye, starting and finishing a few cm either side of the side seam.
- Tack the facing to the seam allowance of the side seam, as marked by small red lines in the diagram.
- Now working on the left side seam (around the zipper), again sew the facing to the armscye around the side seam, holding back the ends of the facing where they would cover the zipper.
- Flip the armhole the right-way-out, and tack the facing to the zipper tape so it's neat.
- Sew the rear tab and affix buttons
- Put right sides together and sew around the edges of the tab.
- Leave a 5cm opening along the middle of one of the long edges, as shown.
- Clip the points around the tab and then turn it the right way out.
- Topstitch around the edges of the tab and close the opening.
- Stitch buttonholes as marked on the pattern and the cut them open. I found that a sharp seam-ripper made this very easy.
- Place the buttons as shown, one on the end of each belt and eight up the from of the dress.
- The diagram seems to suggest that you topstitch the edges of like, everything. I didn't bother.
- The belt/tab buttons aren't attached to the dress itself, just the belts. This is important because I found I wasn't able to take the dress on/off without undoing one side of the belt.
- I have no idea what this step is about
- You should probably finish the hem.
- Even out the length of the shoulder straps if you can. I found it easy enough to pinch some of the excess length and put some stitches in it. If one side keeps falling off, double-sided fashion tape is the fastest solution if you're time-poor.
- If I've forgotten anything, please let me know and I'll add it.
- You'll notice that the back isn't a deep V-shape!! I also found that the dress didn't fit me - I couldn't close the zipper! ;_; This can be fixed though. I just chalked it out leaving a seam allowance, then got into it with my scissors and hemmed it as neatly as I could.
Wrap-up
Well, it fits beautifully. I can't ask for much more than that. \o/
If you have a more-than-insubstantial bust you'll probably need to make some adjustments to the front piece and the associated facing. I hope you sew buttons better than I do, mine kept falling off.
